DIY TV frames are the ideal way to give your walls a decorative finish when not in use. The frames of different types of materials and designs are available in the market to make your television more appealing. To give your TV walls an elegant look and add visual interest, a perfectly designed frame can be added around your televisions.
You can secure your high-quality TV perfectly on the walls while adding charm to it with any decorative frame. If you are not on a budget to purchase the frame from the market and are looking for a guide to create one for your TV, you are at the right place. We’ve prepared a comprehensive DIY TV frame guide to let you know how to design TV frames for your homes.
DIY Tutorial To Make A Creative Yet Simple Frames For TV
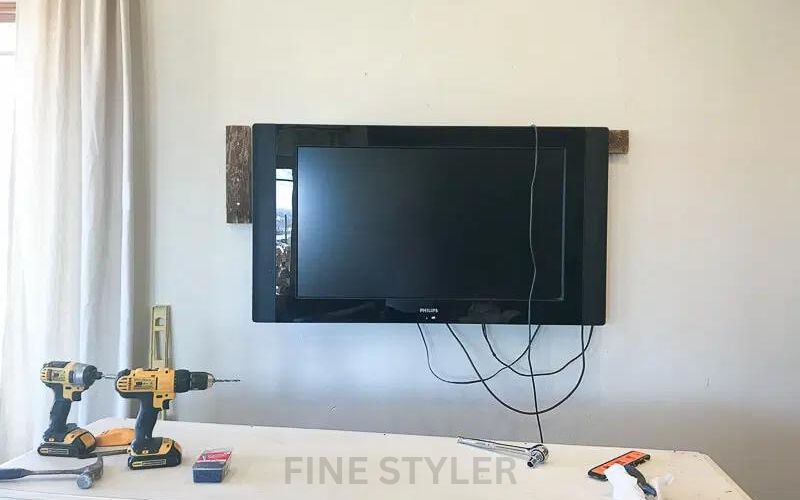
TV frames can be created using plastic and wooden trim moldings. These moldings can be painted to match the style of any existing essential in your living spaces. We are here to help you out in creating a decorative yet useful frame. To make these frames, first, you are required to gather needed essentials and supplies.
Gather Requisite Tools And Materials
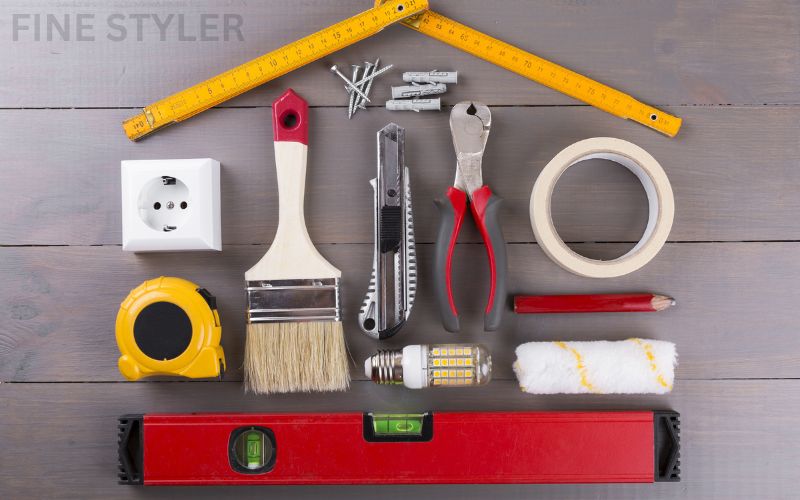
Before you begin, have these tools and equipment handy. Grabbing all the tools mentioned here will make the process more smooth and efficient. They are listed as:
- PVC Or Wooden Molding
- Flat Moulding
- Quality Adhesive Material
- Good Spray Paint
- Soft Paint Brush
- Rub And Buff Material
- Long Screws
- Elastic Bands
Get Molding For DIY TV Frame
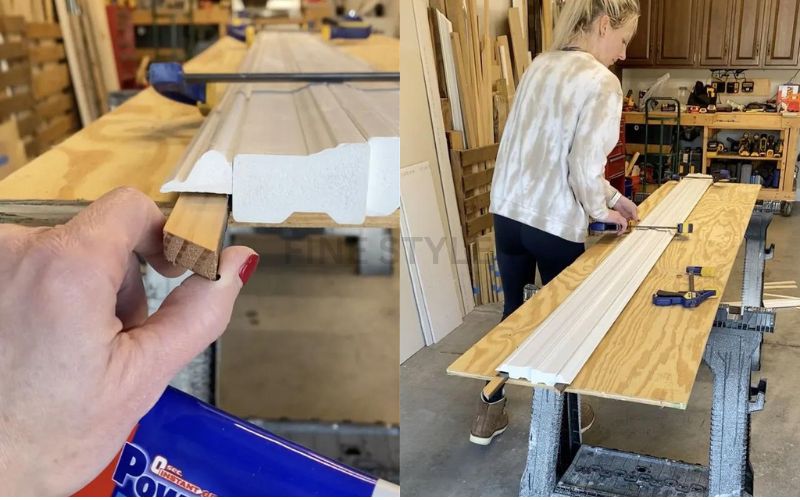
Before getting wooden or PVC molding, measure their length and width using a tape measure. You can look for four simple or decorative molding trims to create a DIY TV frame. When getting the molding, ensure the levelness by laying it over the floor.
Look at each one of the moldings by taking them into your hands and make sure that they are not bent down. Pine wood can be the best choice if you are going to select the wooden material and PVC is another best choice to settle for these frames.
Join Trims Using Adhesive
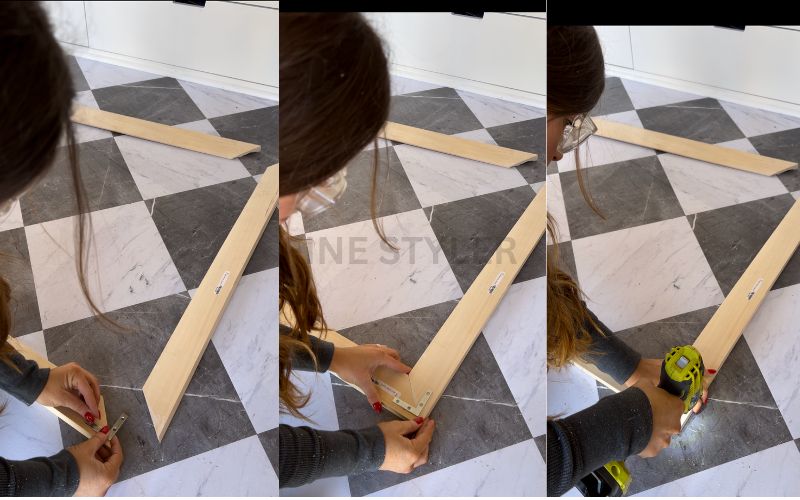
Once you get your desired size and type of molding for frames, there comes the time to join them together. To fuse these moldings together, you’ll need to use the best quality adhesive. You can also use power glue that will help combine these four parts together.
Use glue on all four edges of your moldings to the adjacent points and let these pieces dry for an appropriate time. When your four PVC or acrylic trimmed pieces are combined, they will create a unique and substantial frame.
Assemble The Frame
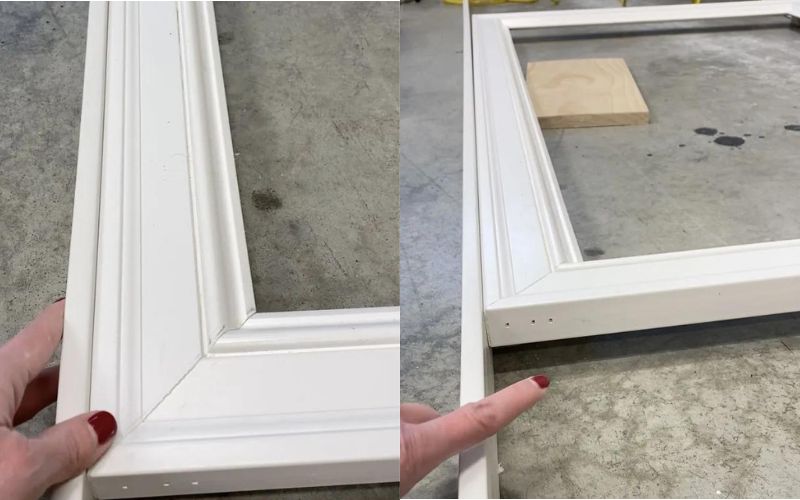
The joined piece will create a rectangular frame that will serve as the lip to sit your TV in. To assemble your frames perfectly, you can attach the screw nails around all corners. These nails will help give your frame a secure finish.
You can also attach another thin and flat molding piece outside your DIY TV frame perimeter to give some depth to it. This will also help cover the side of your television on the wall. Also, make sure to attach nails like before to have the satisfaction of long-term serviceability.
Spray Over Your Frame
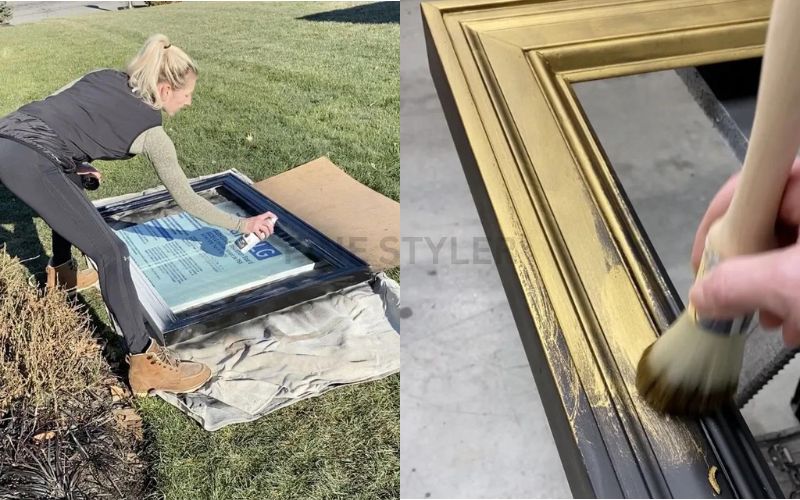
The next step is to spray paint your frame to match the color either with the wall paint or any statement piece of your home. Before you spray paint your frame, make sure to light sand them so that the paint adheres better.
Wipe down your frame to remove any dust particles and spray black paint for the base layer. For the top coating, you can select white or golden paint color to match interior aesthetics. After the paint coat dries completely, you can go over the entire thing through the rug, buff, and paintbrush for a smooth finish.
Use Screws To Attach Elastic

This is the most interesting part of the entire guide because you have to attach something that can hold the TV inside the frame. The most affordable and timeless way is to utilize a rubber band for this purpose. For the most comfortable experience, use good-quality elastic bands.
Choose the correct length screws to attach on frames that will hold the band tight in place. Stretch the band across the frame vertically from the front, ensuring they won’t interfere with the cables and connections behind. You can also use the nails for the attachment of bands to the frame.
Attaching Frame To TV
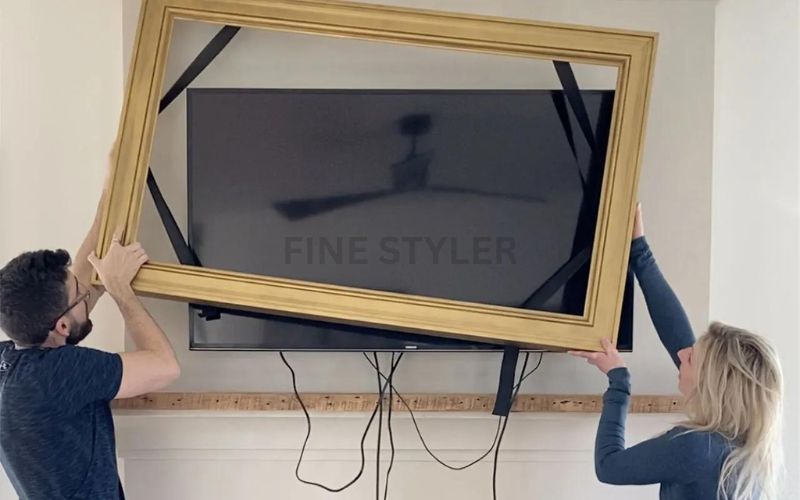
The last step in the DIY TV frame guide is to set it perfectly around your television screen. Hold your television to the center, stretch the band, and take it all the way back for a perfect fit. Ensure that the frame is not blocking or tangling to the cables during the attachment process.
These wooden or PVC material frames won’t cause any troubles for remote, sensors, or electrical shocks. These frames will look like the most seamless yet decorative part of your TV wall. After securing, you are done with creating the finest quality frame without overburdening your budget.
To Wrap Up!

TV frames are a timeless way to transform your walls into a decorative piece of art. After watching programs and shows on your TV, these frames serve as the most statement piece of your room. To create a DIY TV frame, all you need to do is to gather all the requisite tools and materials. To make them, you can utilize three molding frames. Join these trimmed frames using the best quality adhesive or glue.
Adhere these pieces together, and use spray paint for the base layer. After the coat application and dry process, attach the rubber band of the correct length using screws to the back of your frame. Make sure these rubber bands won’t interfere with TV cables. Center the frame of your TV by stretching the rubber band, and here you are done with the process.


